Copilot Studio MCP Integration
Step-by-step guide for connecting Similarweb’s MCP server to Microsoft Copilot Studio
Follow these steps to integrate the Similarweb MCP Server with your Copilot Studio agent.
1. Open Copilot Studio
- Go to https://copilotstudio.microsoft.com/.
- Sign in with your Microsoft account.
2. Select or Create an Agent
-
In Copilot Studio, either:
- Create a new agent, or
- Open an existing agent where you want to make the MCP tool available.

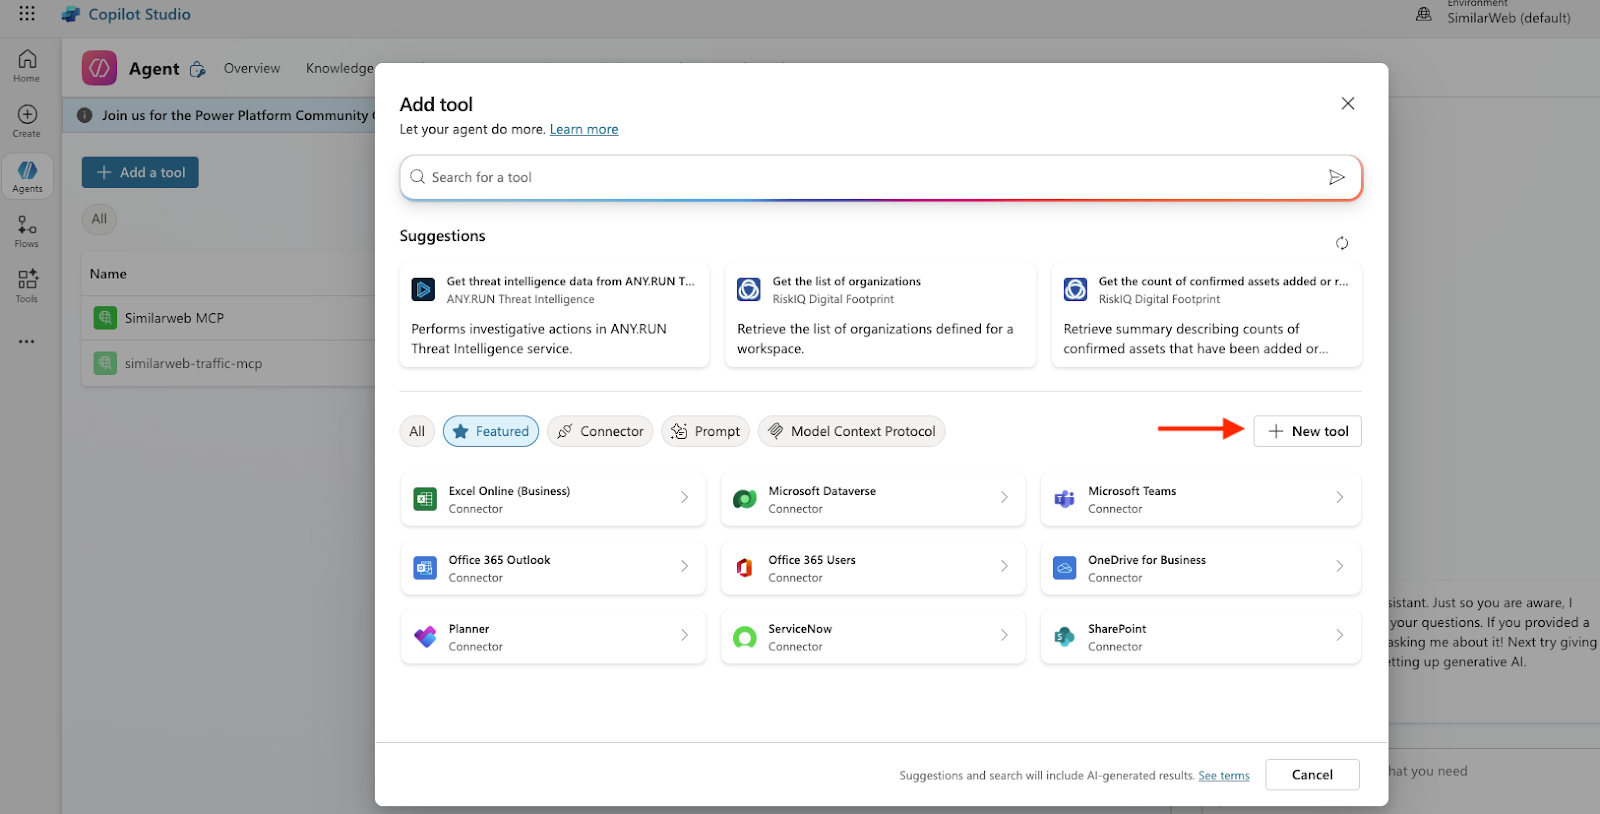
3. Add the MCP Tool to the Agent
- Open your agent and navigate to the Tools tab.
- Click Add a tool.
- Select New tool.
4. Configure the MCP Server Entry
In the New MCP Tool modal, fill out the following fields:
| Field | Value |
|---|---|
| Server name | Any name you prefer, e.g. Similarweb MCP - Prod |
| Server description | (Optional) A friendly label or description |
| Server URL | https://mcp.similarweb.com |
| Authentication type | API key |
| Header name | api-key (this is the HTTP header Copilot Studio will send) |
Then click Add to agent or Add and configure.
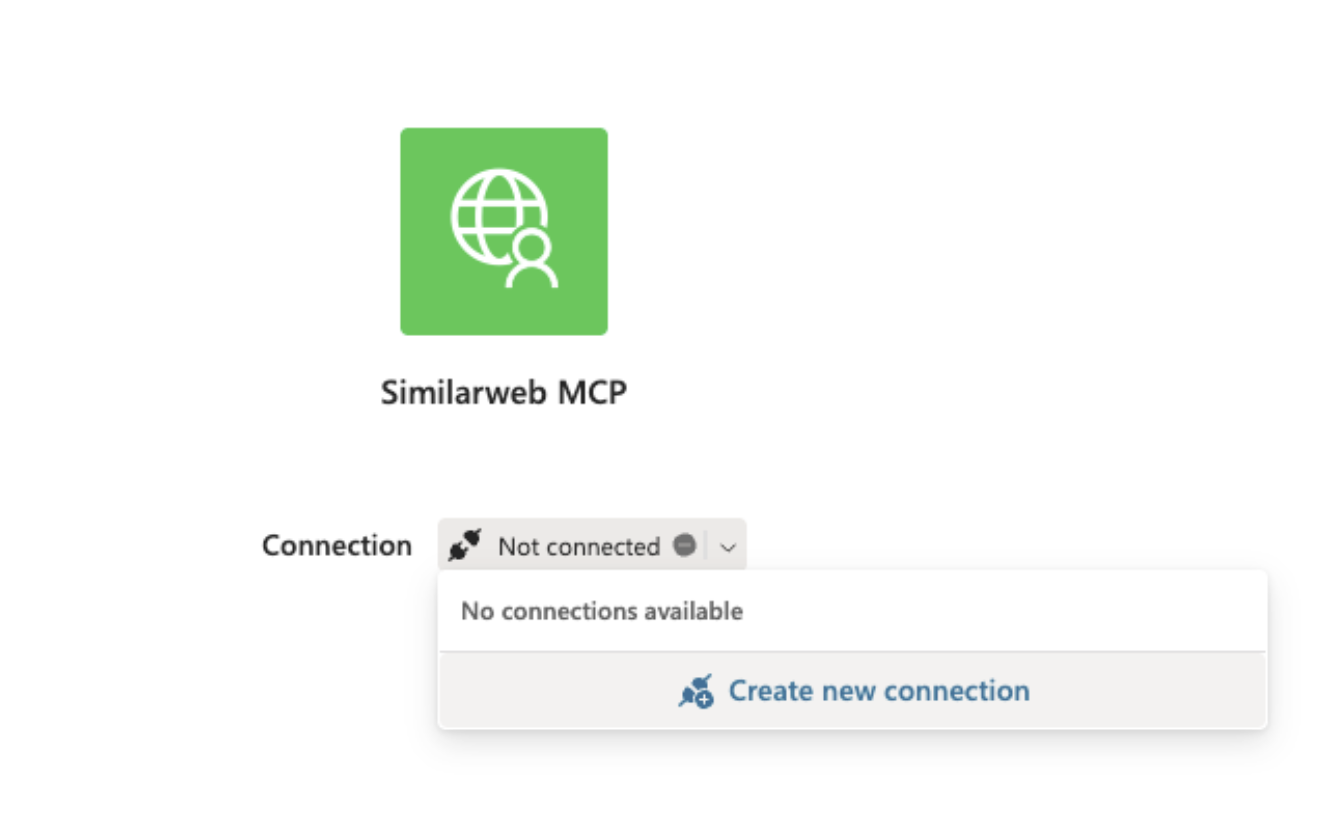
5. Create or Attach the Connection (API Key)
-
Go to Settings → Connection settings for the agent.
-
Open the Connection Manager (or the UI to create a new connection).
-
Create a new connection and:
- Paste your Similarweb API key into the required field.
- Ensure the connection type is set to API key.
- Confirm the header name is
api-key.
-
Save the connection and attach it to the MCP tool.
6. Verify the Connection
-
In the Connection Manager, check that the connection status shows Connected for your Similarweb MCP.
-
Return to your agent and confirm that the MCP tool appears as Connected (green/active).
-
Run a quick test:
- Invoke the agent directly in Copilot Studio, or
- Create a short test prompt/workflow that uses the MCP tool.
If everything is configured correctly, the MCP tool should respond or appear in the agent run logs.
You’re all set! Your Copilot Studio agent can now use the Similarweb MCP Server for data and insights.
Updated 9 months ago